Flat lighting
Flat lighting is where you have the light directly forwards onto the face at a 'flat' angle. Because of this, there will be no shadows on the model's face so the overall impression will look flat. Normally this isn't something people want to have as it looks very inexperienced and unprofessional.

Raccoon Eyes Lighting
Raccoon eyes lighting is where you position the light above the model so there are shadows on the eyes that look like raccoons. This is because having the lighting his way makes the outward features such as the nose and mouth more prominent and the inward elements in shadows (such as eyes).

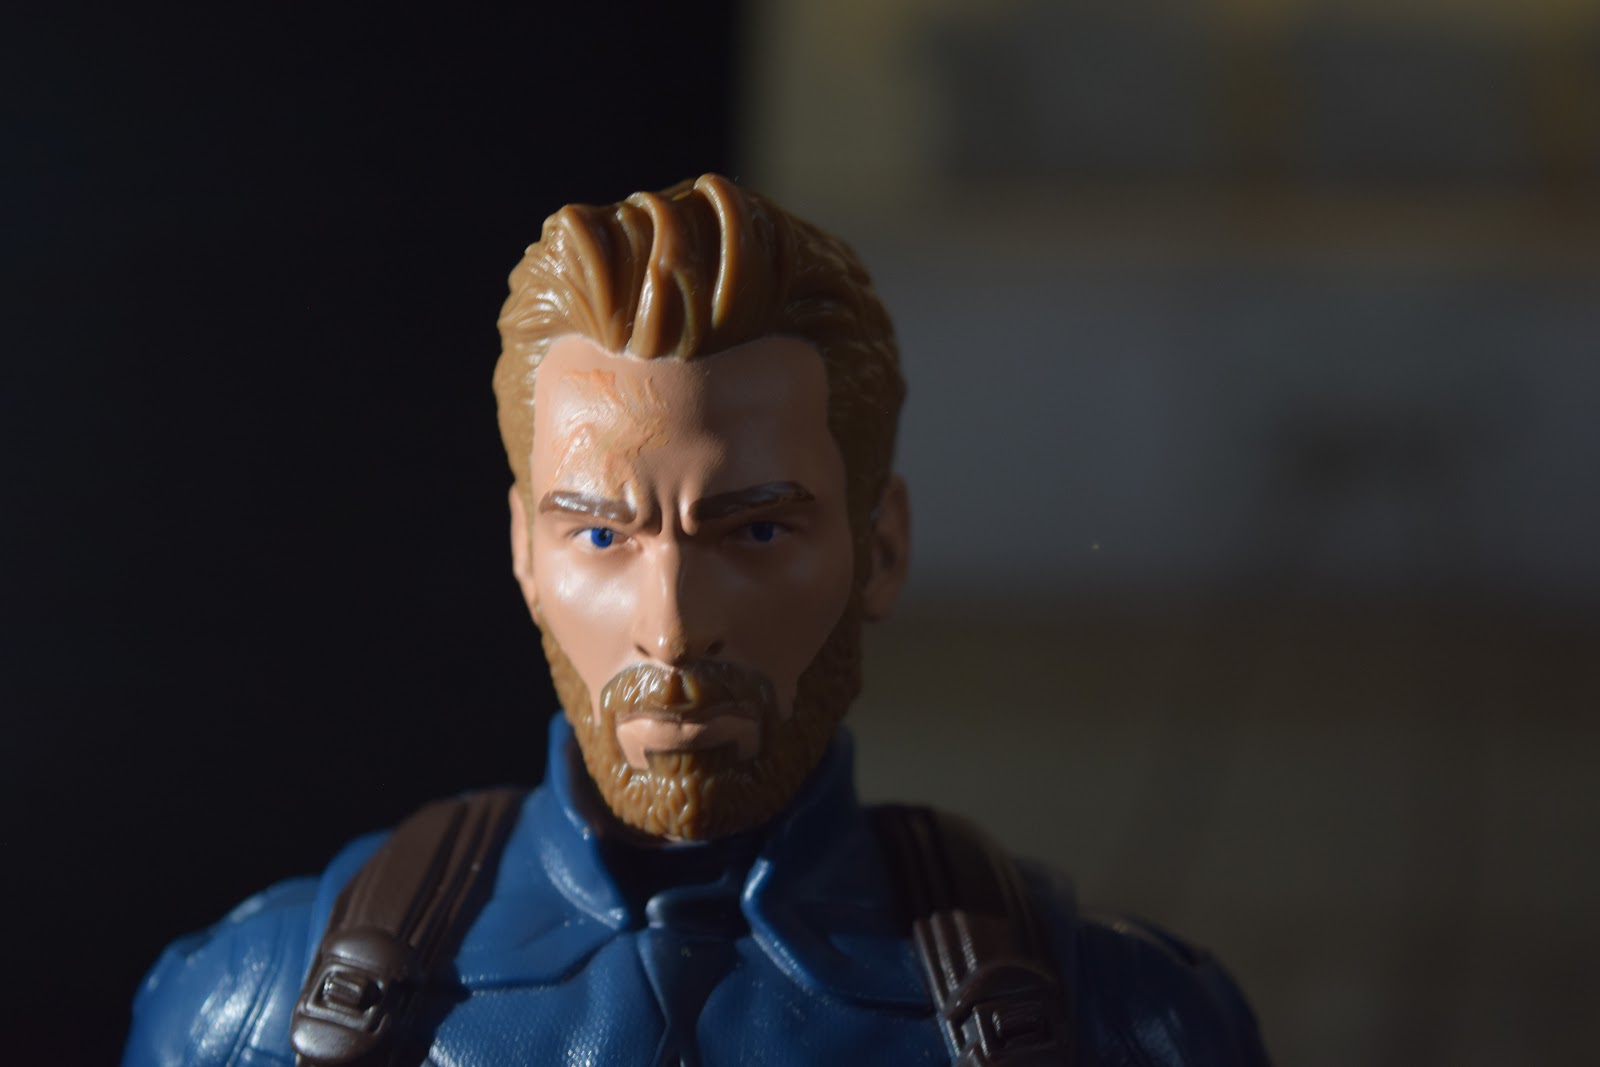
Loop Lighting
To create loop lighting, the light source must be slightly higher than eye level and about 30-45 degrees from the camera but that depends on the model as the positioning may differ for everyone. Loop lighting is where a small loop is made around the model's nose (or cheeks).
To create loop lighting, the light source must be slightly higher than eye level and about 30-45 degrees from the camera but that depends on the model as the positioning may differ for everyone. Loop lighting is where a small loop is made around the model's nose (or cheeks).

Split Lighting
There are two major categories of split lighting, depending on the intensity of the light and how it is positioned on the face.
90-degree angle and 45-degree angle.
90-degree is where the light is held directly (sideways) at the model's cheek so only one side of the face would be illuminated and the other would be in darkness without shadow. However, with a 45-degree angle, the light is held at that angle at the model's cheek. This gives a clearer contour as both sections are illuminated, one part more than the other.

(45-degree lighting)
(90-degree lighting)
Coloured Cellophane Photography
As the name suggests, these are taken with two-point lighting but with coloured gels. The ones we were given were purple, blue and red. To get this effect, we held out lights up and held the gels up a few centimetres away from them to get the projection the right intensity so it didn't look overpowered.
As the name suggests, these are taken with two-point lighting but with coloured gels. The ones we were given were purple, blue and red. To get this effect, we held out lights up and held the gels up a few centimetres away from them to get the projection the right intensity so it didn't look overpowered.


Fill Lighting.
Fill lighting is done by two lights, one on each side of the face to balance the shot. It is meant to make the shot seem brighter with minimal shadows on the face. As the name suggests, the light is used to fill the shot and brighten up the model.

Rembrandt Lighting.
This is a style of cinematic based on the artist Rembrandt, a famous Dutch painter in the 17 century, who used this lighting technique to such great effect in his works of art. To get this style, the light must be positioned above the model at a 45-degree angle, pointing downwards. By doing this, you should be able to get the famous Rembrandt triangle.

'Spooky Eyes' Lighting.
This style is commonly used for those stereotypical villain monologues to show a sudden reveal. The light is positioned straight below the model, pointed upwards. If needed, the light can be brought forward slightly to further and angled to give depth to the eyes.

Three-point-lighting
Three-point lighting at this moment I don't have an example of. However, I know it is where you position two key lights at either side of the model like you would do with split lighting or fill lighting but add in another light behind the head to present further depth.
These types of light could be hair light, soft light or hard light and would each be chosen to show a different purpose. Soft light and hard light is mild whereas Hard light is the opposite.
No comments:
Post a Comment